Green Screen Magic: Transforming Your Videos with Special Effects
The world of video production has opened a gateway to fantastical realms thanks to green screen technology. Imagine transporting your viewers to outer space, placing them amidst a bustling cityscape, or dropping them into the heart of a historical event – all filmed in the comfort of your studio! Green screens make these possibilities a reality.
This blog post equips you with the knowledge and techniques to master green screen productions.
Building Your Green Screen Fortress
- Green with Envy (the Right Kind): Not all greens are created equal. Opt for a uniform, chroma green fabric or seamless paper backdrop. Avoid wrinkles and folds by ironing or using a steamer.
- Lighting the Way to Success: Even lighting is paramount. Harsh shadows can wreak havoc on the keying process. Use multiple soft light sources positioned strategically to illuminate your green screen evenly. Avoid placing lights directly behind your subject.
- Space Management: Hang your green screen with enough slack to avoid creases at the bottom. A slightly curved setup can further minimize shadows.
Lights, Camera, Action (Without the Green Cast!)
- Lighting Gear: Softboxes are excellent for even illumination. Key lights illuminate your subject, while backlights separate them from the green screen. Consider using fill lights to eliminate shadows on the sides.
- Light It Up Right: Position your key light slightly off-center to your subject, and place your backlights behind and slightly above them. Adjust the intensity of each light source to achieve a balanced look.
- Pro Secrets: Bounce light off white walls or use diffusion panels to soften harsh shadows. Experiment with colored gels to create specific moods or environments.
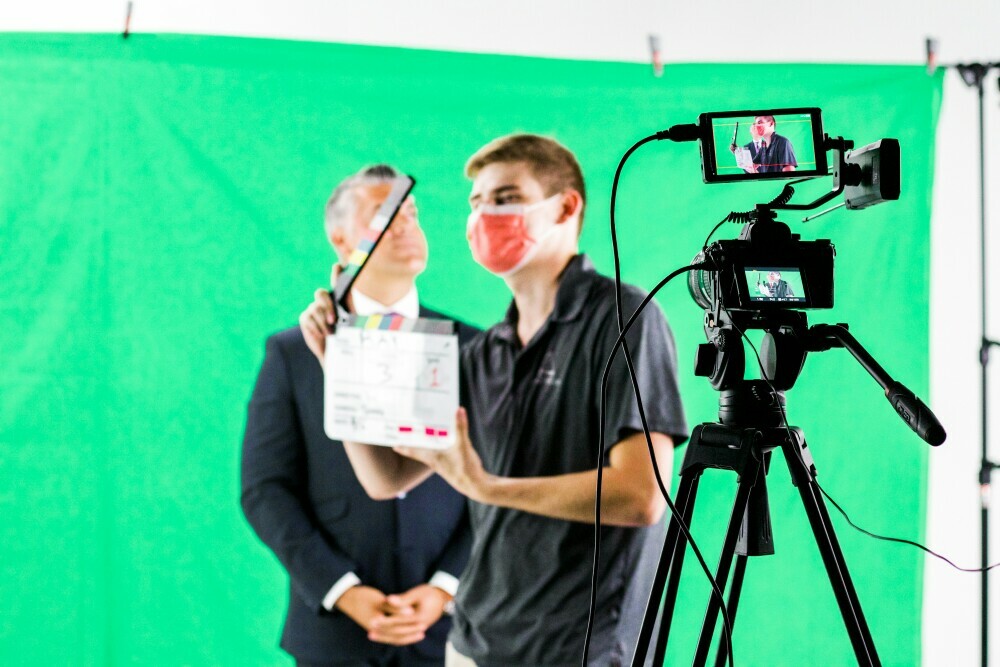
Filming for Flawless Green Screen Integration
- Camera Control: Use a stable tripod or camera mount to avoid shaky footage. Adjust your camera settings for optimal focus and exposure.
- Direct with Confidence: Clearly explain to your actors where to look and how to interact with the virtual environment, even though it’s not physically present.
- Marking Your Territory: Place T-shaped markers on the floor outside the green screen area to help actors stay positioned and guide compositing in post-production.
- Foreground and Background Harmony: Dress your actors in solid colors that contrast with the green screen to ensure a clean key.
Post-Production Wizardry: Bringing Your Vision to Life
- Keying Out the Green: Video editing software utilizes chroma keying to remove the green screen and replace it with your desired background. Popular software options include Adobe After Effects, Premiere Pro, and Final Cut Pro.
- Compositing Magic: Once the green screen is removed, seamlessly integrate your chosen background elements. Adjust the scale, position, and lighting of your foreground subject to achieve a realistic and cohesive look.
- The Finishing Touches: Color grading refines the overall color palette for a unified aesthetic. Adding subtle shadows and reflections on your subject further enhances realism. Particle effects, lens flares, and other special effects can elevate your production value to a whole new level.
By following these green screen techniques and tips, you’ll be well on your way to creating captivating and visually stunning videos that will leave your audience in awe. Remember, practice makes perfect, so experiment, have fun, and unleash the power of green screen technology in your next video project!
If you would like to commission any sort of video project then do not hesitate to Call Alan on 07539141257 or 03332241257, or +447539141257 or +443332241257, you can schedule a call with Alan on https://calendly .com/alanje or drop an email to alan@alpusgroup.com.
0 Comments